Data Sources
Create and maintain catalogs that power list fields in your forms.
Video coming soon
Data Sources
id: academy-data-sources · ~2–4 min
Audience: Admin
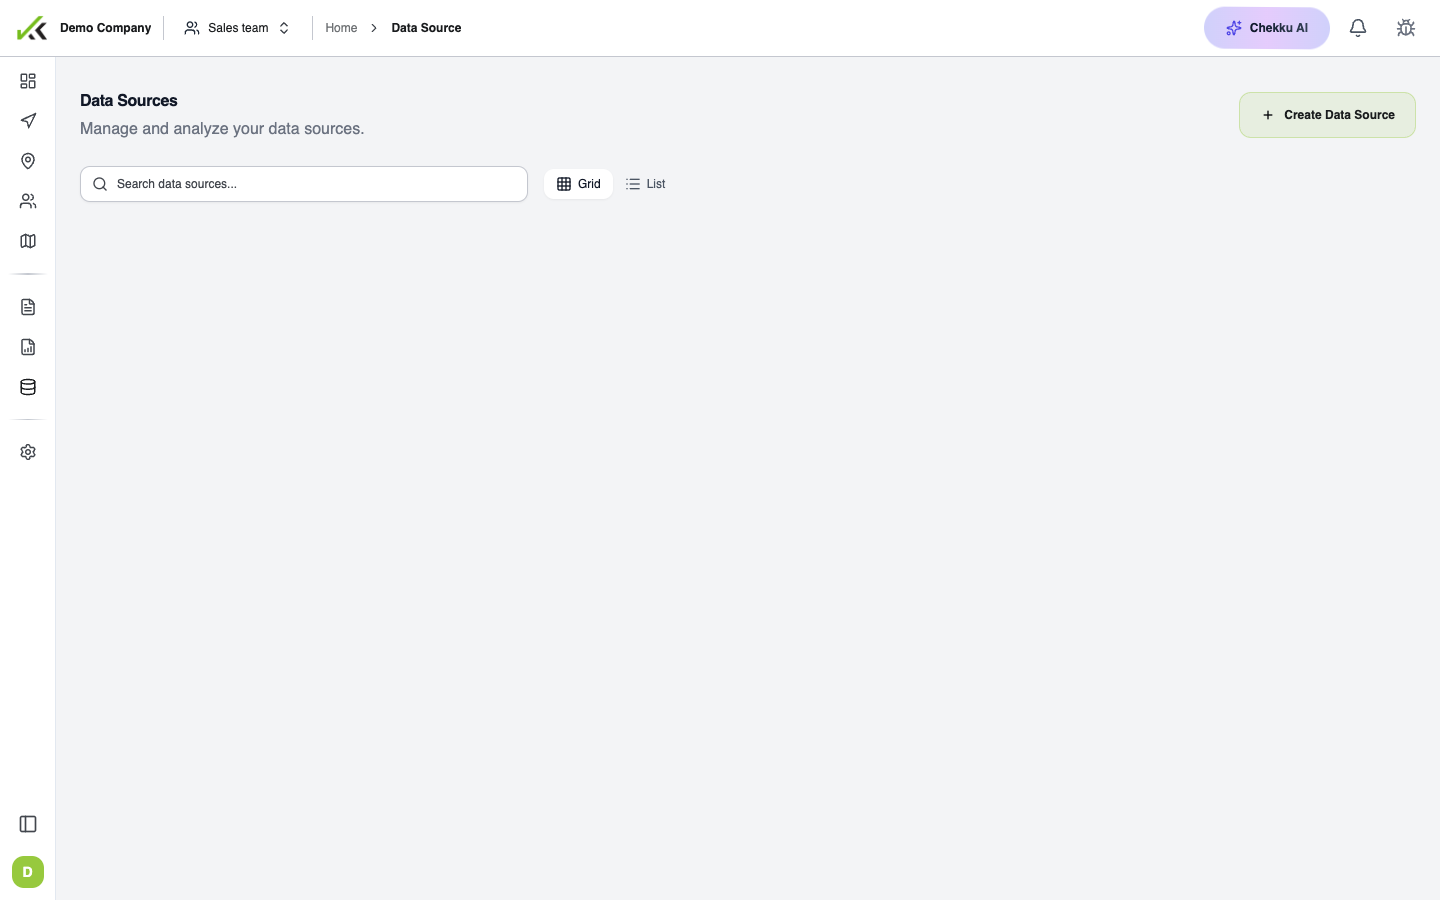
Data Sources are CRUD catalogs on the web. Each source holds rows of structured data—products, customers, failure codes, price lists—that you connect to List fields in Form Builder. When the catalog changes, connected forms pick up the update on the next sync.
Create and manage a catalog
- Open Data Sources on the web (admin menu).
- Create a new source and define its columns.
- Add, edit, or delete rows directly in the grid, or bulk-load data (see Excel import below).
- Save. The source is now available when you configure List fields.
Each column in the catalog maps to a field type that controls validation and how values appear on mobile:
| Type | Use for |
|---|---|
| Text | Names, codes, short labels |
| Number | Quantities, prices, scores |
| Date | Effective dates, expiry |
| Boolean | Yes/no flags, active/inactive |
| Image | Thumbnails, product photos |
| File | PDFs, spec sheets attached to a row |
| URI | Links to external pages or deep links |
| Protected | Sensitive values shown only to authorized roles |
Choose types deliberately. A number column rejects text on import; an image column expects a valid image reference.
Import from Excel
For large catalogs, prepare a spreadsheet whose header row matches column names in the Data Source, then:
- Open the source → Import (or equivalent upload action).
- Select your
.xlsxor.csvfile. - Review the preview, fix mapping errors, and confirm.
Imported rows replace or merge depending on the option you choose—check the dialog before confirming on a live catalog. Re-import after price or SKU updates instead of editing hundreds of rows by hand.
Sync into form Lists
List fields do not store their own options. They read from a Data Source at runtime:
- In Form Builder, add a List field (single or multi-select).
- Under field settings, pick the Data Source and the columns to display (label vs. stored value).
- Publish the form.
On mobile, the user sees the current catalog. Office edits to the source propagate after sync—no need to republish the form for option changes.
For step-by-step wiring in the builder, see Lists from Data Sources.
Tips
- One source per domain (e.g. "Products", "Visit reasons")—avoid mega-catalogs with unused columns.
- Use Protected for fields that should not appear to every mobile role.
- Keep a stable key column (SKU, code) for imports and API use.
- After a big import, spot-check one List field on a test device.